Skip Sub Menu
Emergency Preparedness and Response - Lab Equipment
|
|
|
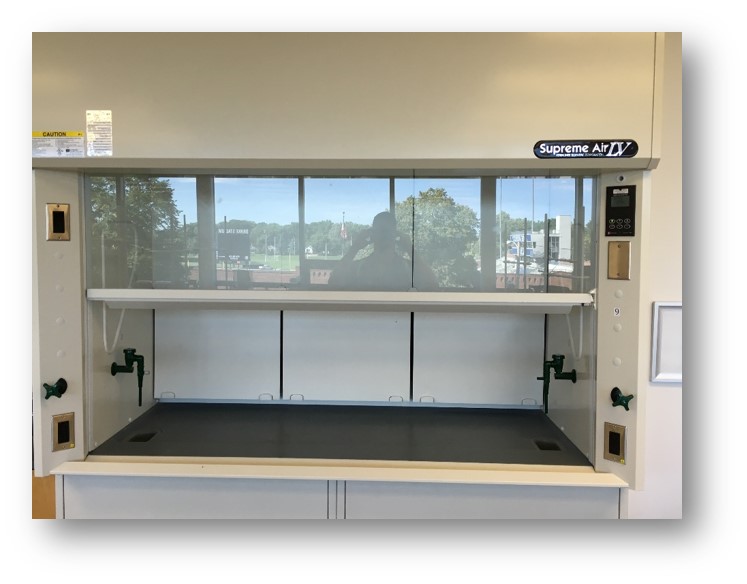
Fume Hood CareOperator responsibilities
EHS responsibilities
Facilities responsibilities
Place the fume hood sash at or below the maximum sash height, as indicated by the arrow on the face of the hood. Verify that the hood is operating in safe mode. Verify proper air flow by taping a tissue paper to the bottom of the sash. The tissue paper should move away from you, toward the inside of the hood. Minimize storage in the fume hood. If a large piece of equipment must be used inside the fume hood, raise the equipment two to three inches off the surface to maintain the proper flow of air. |
|
|
|
|
|
|
|
|
|
|
|
|
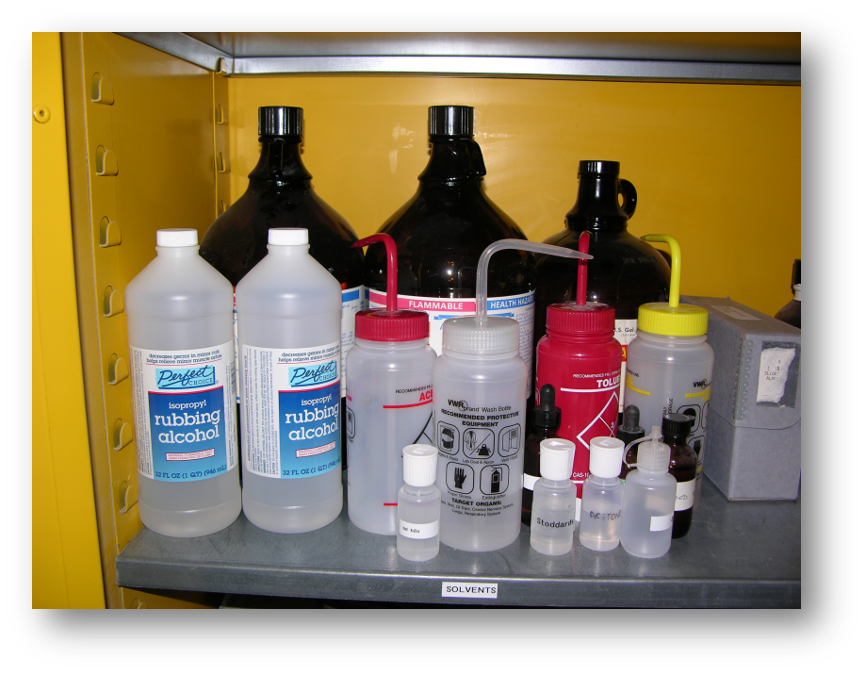 Flammable Liquids
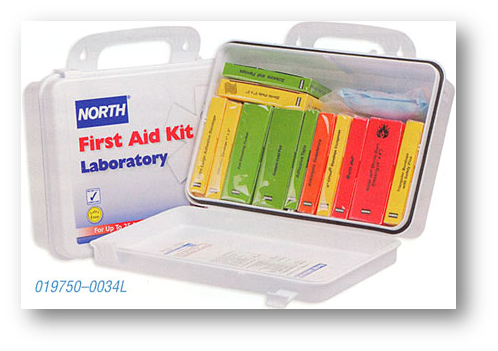 First Aid Kit
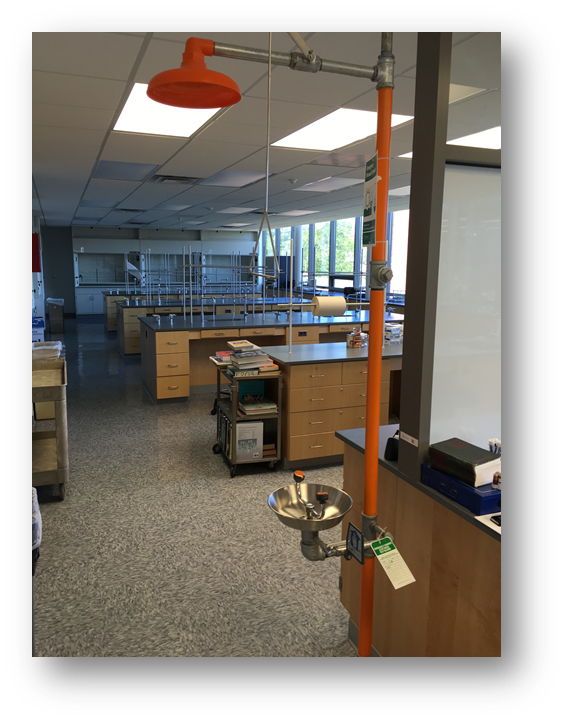 Safety Shower
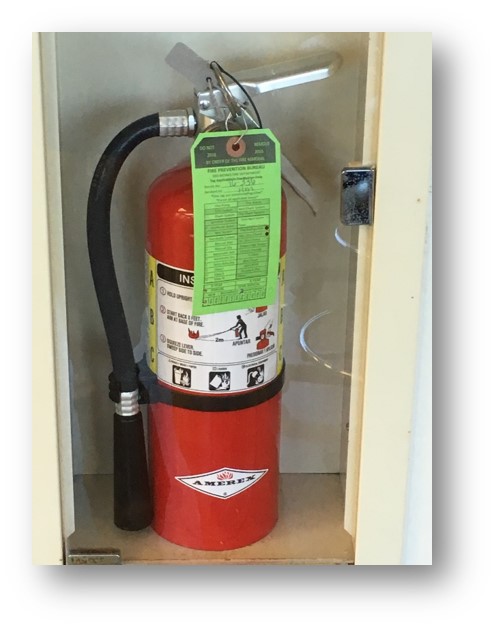 Fire Extinguisher
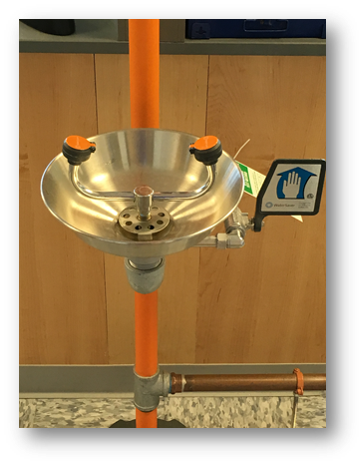 Eyewash Stations
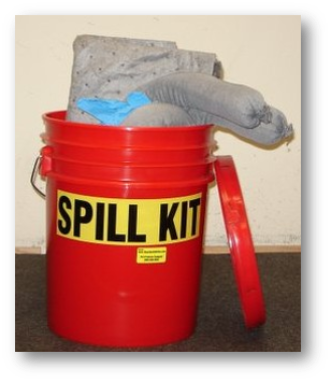 Spill Kit
IMPORTANT NUMBERS
|
Drake Public Safety, - Des Moines police, fire, ambulance, |